How to Make Secret Hiding Compartments in Your Bed Easy
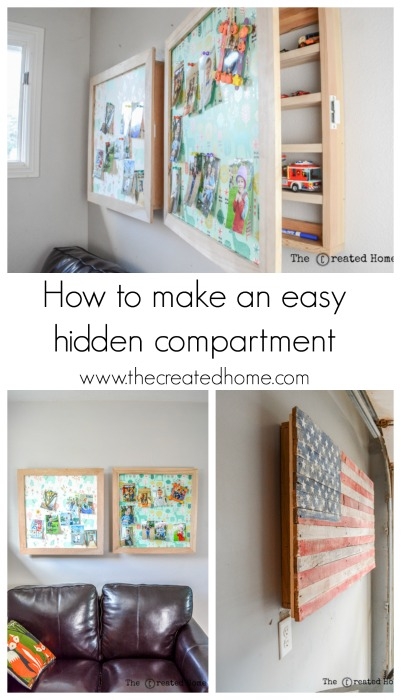
Storage is awesome. Hidden storage is awesomer. It's actually quite easy to add a little storage to art work of many forms. Follow these simple steps to learn how.
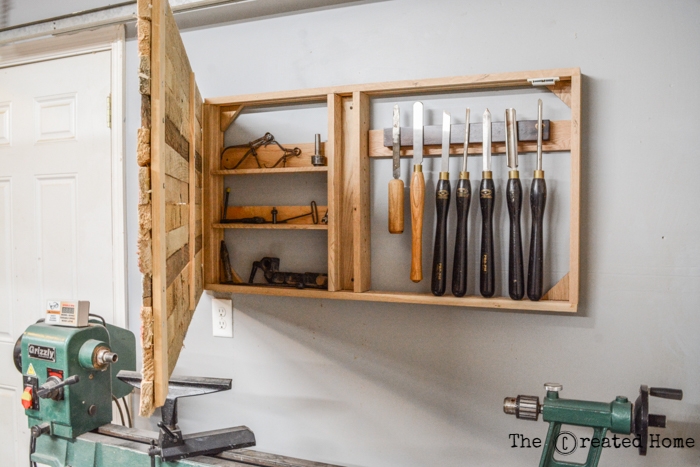
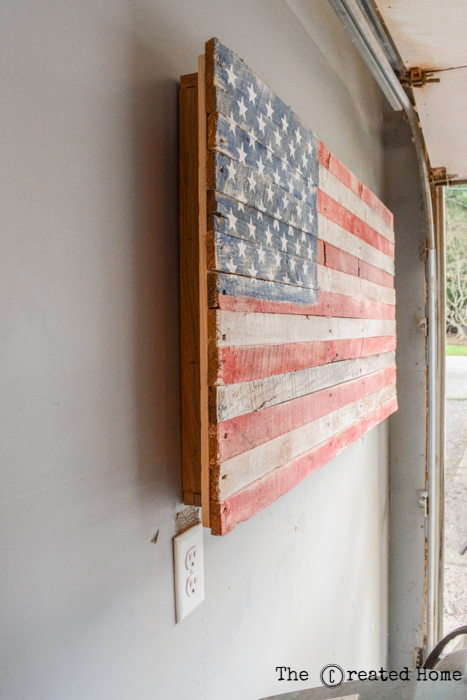
For this tutorial I will show how I added a hidden compartment to the back of some fun magnetic art frames. You can learn how to make the frames in this post. I'll also include some photos of how it works with a pallet flag that hangs in my garage shop.
Materials
*This blog participates in affiliate links. You can learn more about that here.
Wood (dependent on size needed)
Glue
Screws
Piano Hinge
Magnetic catch
Tools
miter or circular saw
drill
How to create a hidden compartment
Essentially, all this is is a frame mounted to the wall, with the art or whatever piece that serves as the cover, being attached via piano hinge. I'll show how I made hidden compartments on the back of a couple art frames for my kids, as well as on a pallet wood flag in my shop that is used to store lathe tools.
So, yeah, by hidden I am not talking in the sense of oh-my-gosh no one will ever know, secret room behind a bookshelf-type hidden. I'm no good with mechanics.
But they are really easy to make, so there's that.
Step 1:
Build the frame to match the dimensions of the art (or whatever) to cover it, minus an inch or two. The exact spacing is totally up to you. Unless that seems overwhelming, in which case the answer is 1 1/2″.
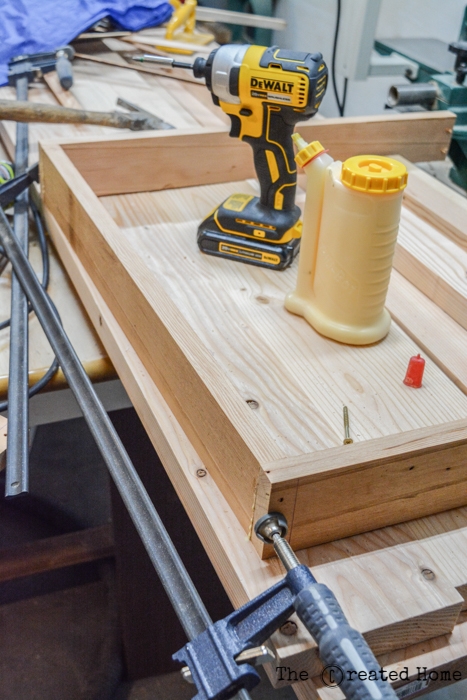
No need to get fancy here. Just screw it together using butt joints. (If you are new to woodworking go ahead and look it up, that's seriously what they are called.)
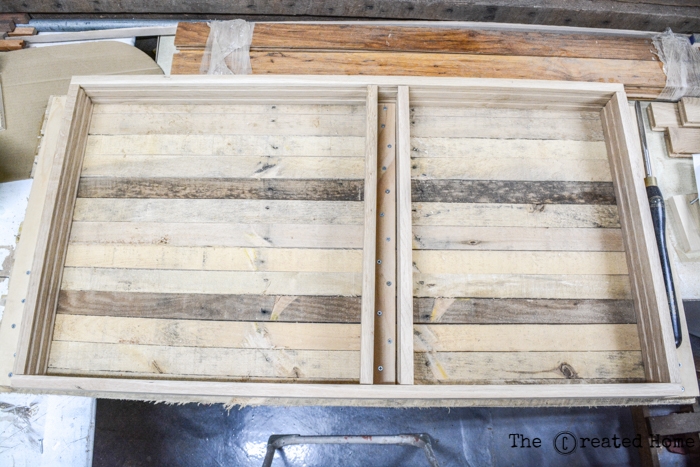
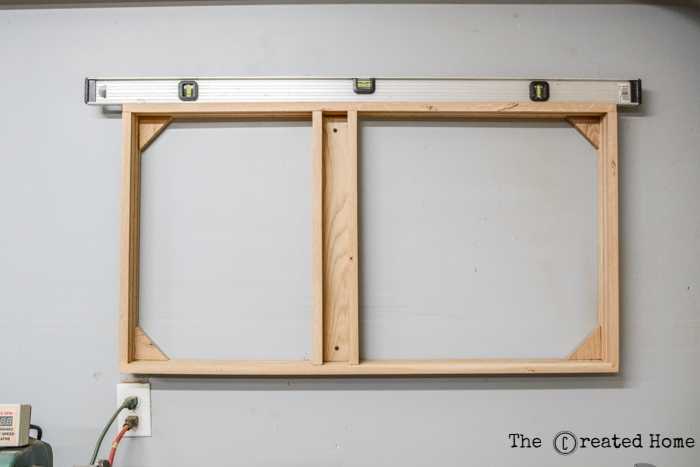
Here's another look at what that looks like with the wood flag (the flag is upside down). In this case the frame features a middle section that encompasses a support piece necessary for the flag's structure. The flag's width meant I wanted two sections, so this was a convenient way to break up the space.
Step 2:
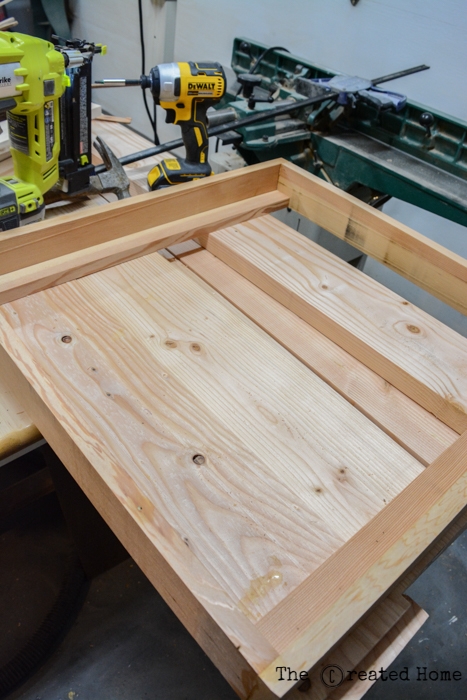
Add nailers. You need a way to securely attach the frame to the wall. Basically, this is just pieces of wood attached to the frame that create a nailing surface.
On these frames I attached a strip of wood across the top and bottom of the box frame. When the box goes up on the wall you'll simply screw through the nailer board to secure the who shebang. Try not to be confused by the fact that this project is sitting on top of another project. Sorry, that's a bit confusing.
If you want something a little cleaner looking. Fancier? I don't know, you can do corner brackets. But for this you will need to ensure that those brackets line up with studs in the wall.
Step 3
Add shelves in whatever configuration you desire.
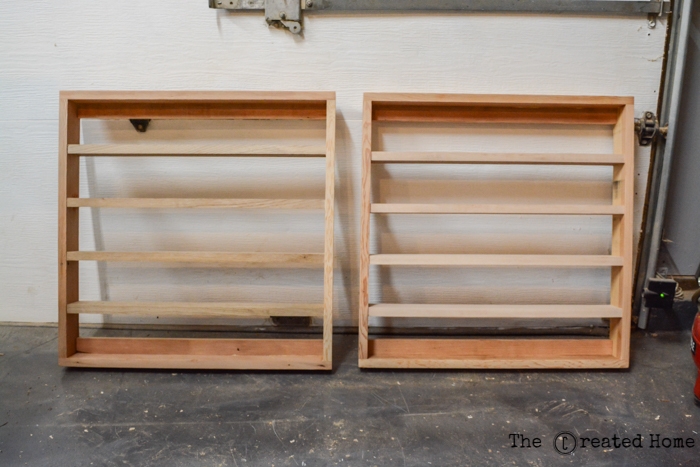
I simply glued and brad nailed these from the sides.
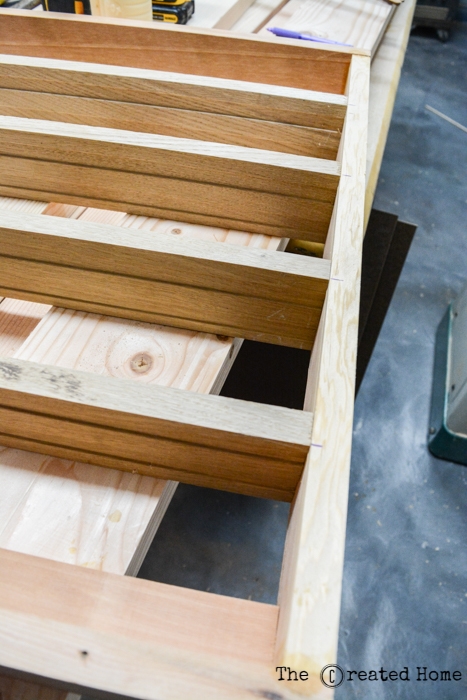
Here is a look at the shelving for the flag compartment:
Step 4
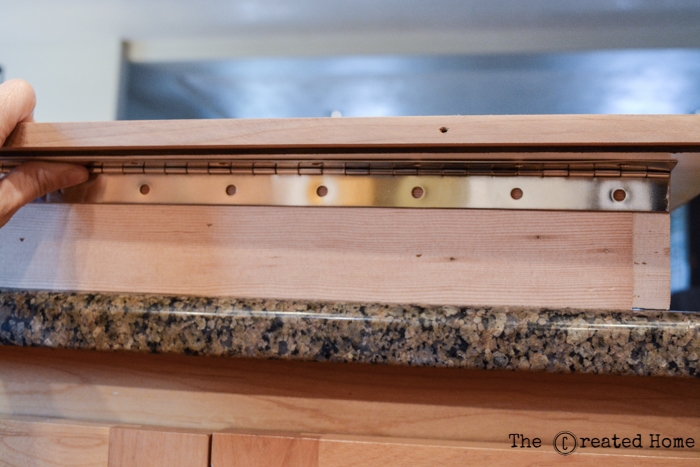
Add hardware. This consists of a piano hinge and some magnetized catches. The hinge simply turns your art into a door which swings open from the frame. For the flag I had my husband hold the cover (flag) in place while I attached the piano hinge.
With the art frame compartments I got a bit wiser and attached the frames to the backers before hanging. I would recommend this way. Simply open the hinge to a 90 degree so it's flush to both the "door" and the compartment, and attach. Just make sure the hinge swings the correct way.
Next, line up the two parts of the magnetic catch and screw in place. I recommend using both catches that come with the two pack for this if your art/door has any weight.
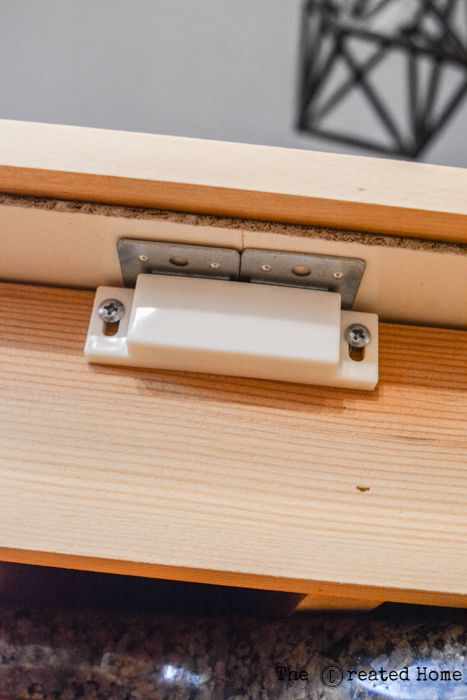
It's seriously that easy.
If you found your way here from the art frames I'll give you one other fun diy idea. Instead of support braces on the back of those frames I added a panel of whiteboard. 4×8 panels are available at home improvement stores, and they are pretty inexpensive.
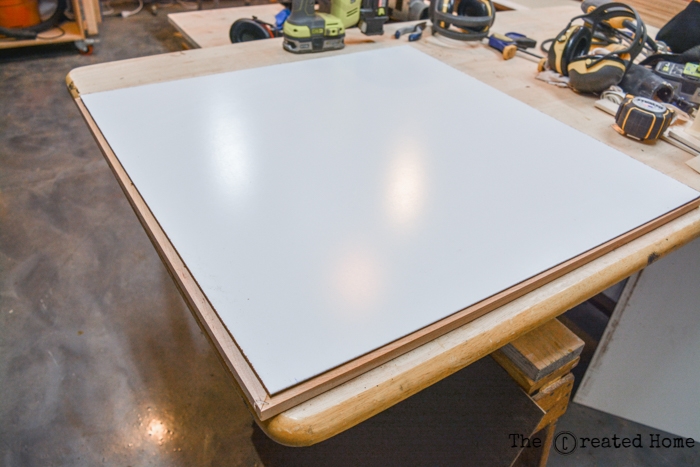
The whiteboard serves to strengthen and support the door, and it is a fun place for more artwork!
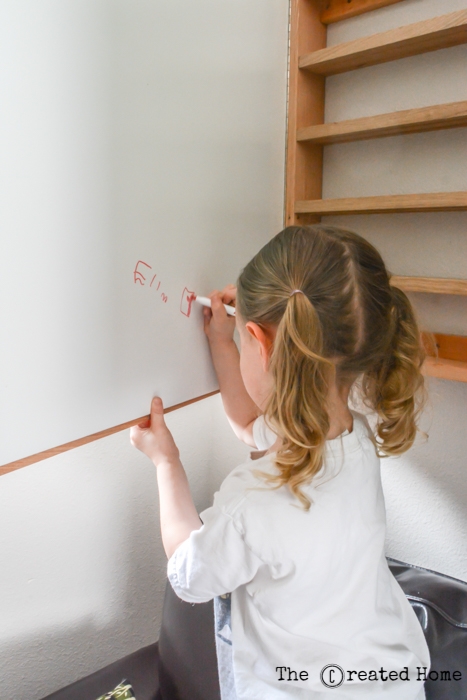
Here's how those art compartments turned out:
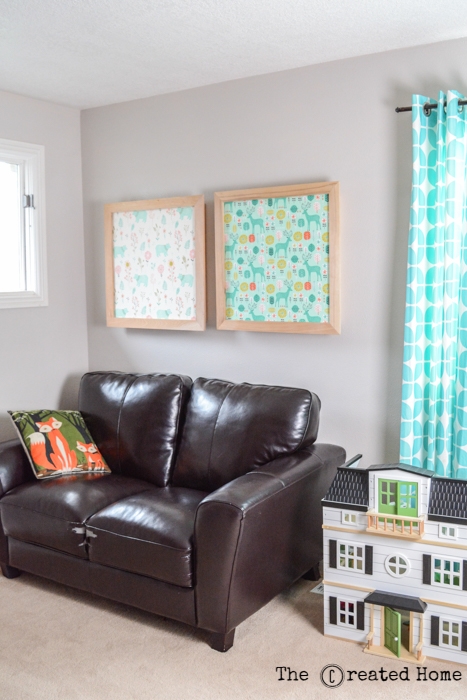
These magnetized art frames with the attached hidden compartment are a fun place for kids to store their treasures, as well as to display prized art or photographs.
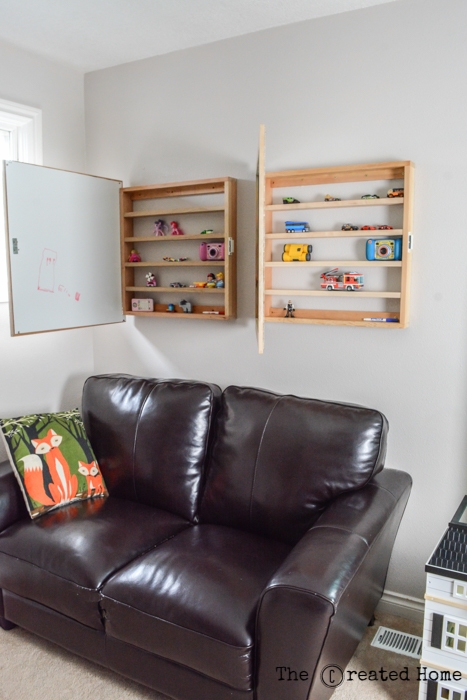
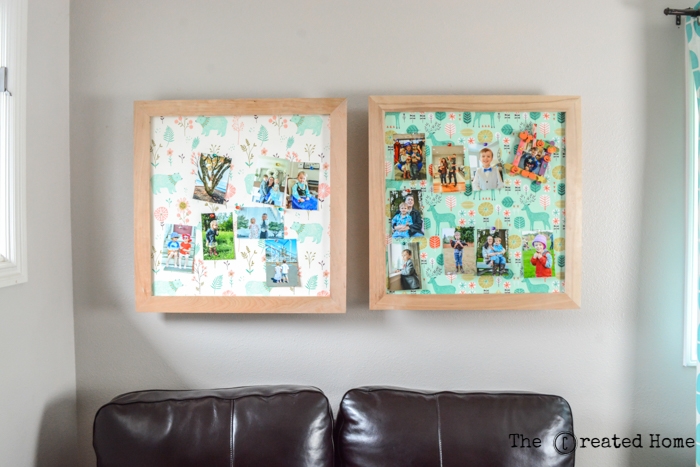
Hopefully this has you thinking about where you can add a little hidden storage!
Happy building!
Source: https://thecreatedhome.com/easy-hidden-compartment/
0 Response to "How to Make Secret Hiding Compartments in Your Bed Easy"
Post a Comment